Polski
 English
 Українська
 Deutsch
 Español
 Türkçe
 Português (BR)
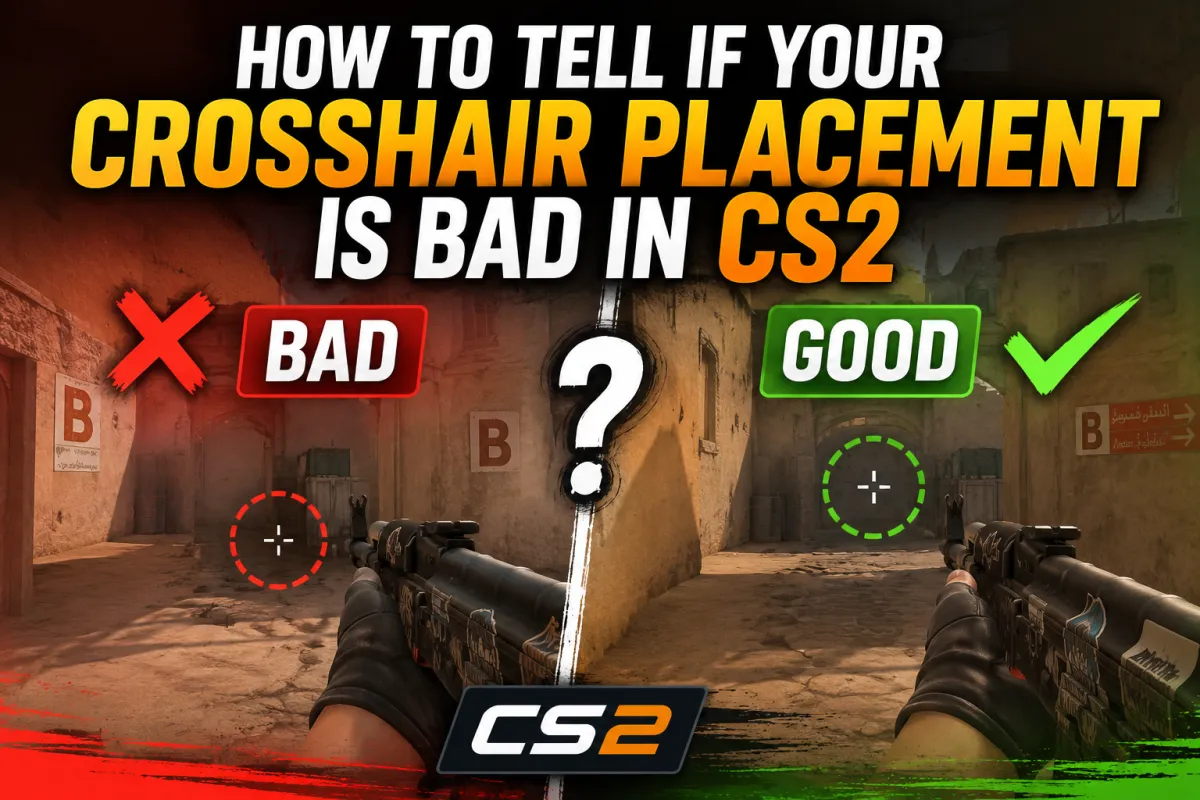

How to Tell If Your Crosshair Placement Is Bad in CS2
Here's a frustration almost every CS2 player knows. On aim maps you feel sharp: clean one-taps, quick flicks, good scores. Then you load into a real match and it falls apart. Every fight starts with a tiny correction before you can shoot. The enemy peeks, your crosshair is close but never quite on them, and by the time you adjust, you're already dead.
Most players blame sensitivity or reaction time. They swap DPI, try a new crosshair code, grind another hour against bots. Nothing changes, because the problem usually isn't aim at all - it's crosshair placement.
Placement is also the fastest skill in the game to diagnose and fix. This guide gives you a self-check list, a way to test it against real opponents in HS DM and live 1v1 Duels, and a ten-minute daily drill that corrects it.
Bad Crosshair Placement Usually Looks Like Bad Aim
Two different skills get blamed for the same missed shots, so let's separate them first.
Raw aim is mechanical: how quickly and precisely you can move your crosshair onto a target once you see it. Crosshair placement, also called pre-aim, is predictive: where your crosshair rests before anyone appears. Good placement means your crosshair is already waiting at head height, on the spot where an enemy is most likely to show.
The gap between the two sounds academic until you put numbers on it. An average person reacts to something appearing on screen in roughly 200-250 milliseconds; experienced FPS players trend closer to 150-200. If your crosshair starts on the enemy's head, that reaction time is all you need: see, click, done. If it starts at their chest or half a meter to the side, you're stacking a flick and a micro-adjustment on top of the reaction, and your real time-to-kill roughly doubles. Against an opponent whose crosshair was already waiting, the duel is decided before your correction lands.
That's why bad placement disguises itself so well. You miss the opening shot, lose the round, and conclude that your mechanics failed or that you're just slow today. In reality you lost the fight before the enemy ever appeared on screen - your crosshair was in the wrong place. No amount of aim-map grinding fixes that, because aim maps quietly reward the exact correction habit that's hurting you.
The Main Signs Your Crosshair Placement Needs Work
You can diagnose placement from a single demo review or one attentive session. Watch for these patterns:
- Your crosshair drifts toward the floor while you move through the map.
- You make a small correction before every shot, even on angles you knew about.
- You swing wide to find heads instead of making small adjustments.
- Your first bullet lands late, or in the chest instead of the head.
- You walk past angles without your crosshair ever actually clearing them.
The floor habit is the most common one. Under pressure, your eyes drop to where movement happens - legs, stairs, walkways - and the crosshair follows. If you catch yourself rotating through mid with your crosshair on the ground, every fight along the way starts with a vertical flick you didn't need.
Late first bullets are the subtler tell. Your reaction time hasn't changed between matches - your crosshair just started further from the head. The bigger that starting distance, the slower you look, which is why placement problems so often get blamed on slow hands.
One distinction matters before you fix anything: micro-flick dependency is not the same thing as intentional flicking. An intentional flick is a tool - punishing an off-angle, snapping between two known positions, or landing an AWP flick when someone strafes out of your scope. You choose it. Micro-flick dependency means you can't fire without a micro-adjustment first, because your resting crosshair is always slightly off. Flicking is a skill; compensating is a symptom. If you can't take an ordinary fight without that little adjustment, head-level discipline will do more for your aim than any flick training ever will.
Use this table to narrow down your problem:
| Symptom | Likely cause | How to test it | Best mode to fix it |
|---|---|---|---|
| Your first shot always feels late | Crosshair resting below head level | Review five demo deaths and check where your crosshair was when the enemy appeared | HS DM |
| You die to peeks you predicted | Pre-aiming the wall edge instead of the head behind it | Hold one common angle for a session and count kills that needed no adjustment | Duels |
| Sharp on aim maps, average in matches | Bots stand at one fixed height and never punish you; real heads show up at unpredictable heights and timings | Compare your bot-map accuracy with your live headshot percentage | Classic deathmatch |
| Wide, panicked swings while clearing | Moving faster than your crosshair discipline allows | Clear one site at half speed and watch whether the crosshair holds head height | HS DM |
How to Test Crosshair Placement in Real Duels
Static aim maps like aim_botz can't test placement. The bots stand at a single, uniform head height on flat ground, they never choose when the fight starts, and they never shoot back - so nothing punishes a crosshair that rests on the floor between kills. Comfort there proves your raw aim works, but it says nothing about where your crosshair lives when a real opponent controls the timing.
Live servers expose it immediately, and two modes cover the whole diagnosis.
Headshot-only deathmatch is the head-level discipline test. On xplay.gg's HS DM servers body shots don't count, so a crosshair sitting at chest height stops producing kills instantly. Ten minutes there tells you the truth: if the kill feed is dry while your aim "feels fine", your default crosshair height is the problem.
The 1v1 Duels mode tests the other half: whether you pre-aim real opponents correctly. In deathmatch you take most fights on your own terms. A duel makes you hold angles and clear them in a sensible order, which exposes placement errors one at a time - and every lost round shows you exactly which angle beat you.
The test itself is simple. Play ten duel rounds and count how many opening shots you fired without having to fix your crosshair first. If it's under half, placement is your bottleneck.
How to Fix Crosshair Placement Without Overthinking It
Placement responds to short, deliberate practice faster than any mechanical skill, because you're not building speed - you're replacing a habit.
Learn head heights, not just angles. Every map has standard heights where heads appear: flat ground, ramps, boxes, window ledges. Load a practice server and walk your usual routes keeping the crosshair pinned to head level the whole way. Five minutes per map makes the heights automatic. If you want ready-made setups, this rundown of the best CS2 practice maps for aim and nades covers the ones worth your time.
Slow your clearing down. Most placement errors happen because your feet move faster than your crosshair discipline. Clear a site at half speed, angle by angle, and watch the crosshair trace head level through the whole motion. Speed comes back on its own once the habit sticks.
Steal from demos. Pull up any pro POV and pause it while they hold a position - the crosshair is parked at head height on the exact pixel of the next likely peek, even mid-rotation. Placement is one of the few skills you can copy directly.
Then run the ten-minute daily drill:
- Minutes 0-5, HS DM: spend the whole five minutes holding the crosshair at head level. Ignore your score - you're only grading height.
- Minutes 5-10, Duels: play normally, but after every death check whether your crosshair was where their head actually appeared.
- After the session: note which of three mistakes killed you most - crosshair too low, pre-aim hugging the cover edge too tightly, or angles cleared in the wrong order.
For extra volume on top of the focused work, regular deathmatch is the place - just keep the head-height rule switched on while you play. Expect to feel the difference within three or four days, and to see it in your first-bullet accuracy inside a week.
Common Crosshair Placement Mistakes on Popular Maps
Generic "keep it at head level" advice breaks down on real geometry. Ramps, inclines and elevation changes move head height constantly, and these four spots punish lazy placement more than anywhere else:
| Map area | Common mistake | Better crosshair position |
|---|---|---|
| Mirage Connector | Holding one flat, body-level height on the connector stairs | When holding Mid from inside Connector, pre-aim the lip of the stairs at head height - a head crests there before the body |
| Inferno Banana | Crosshair glued to the car or sandbag edge at body height | Hold head level a step off the cover's edge, so a swinging enemy lands on your crosshair instead of blowing past it |
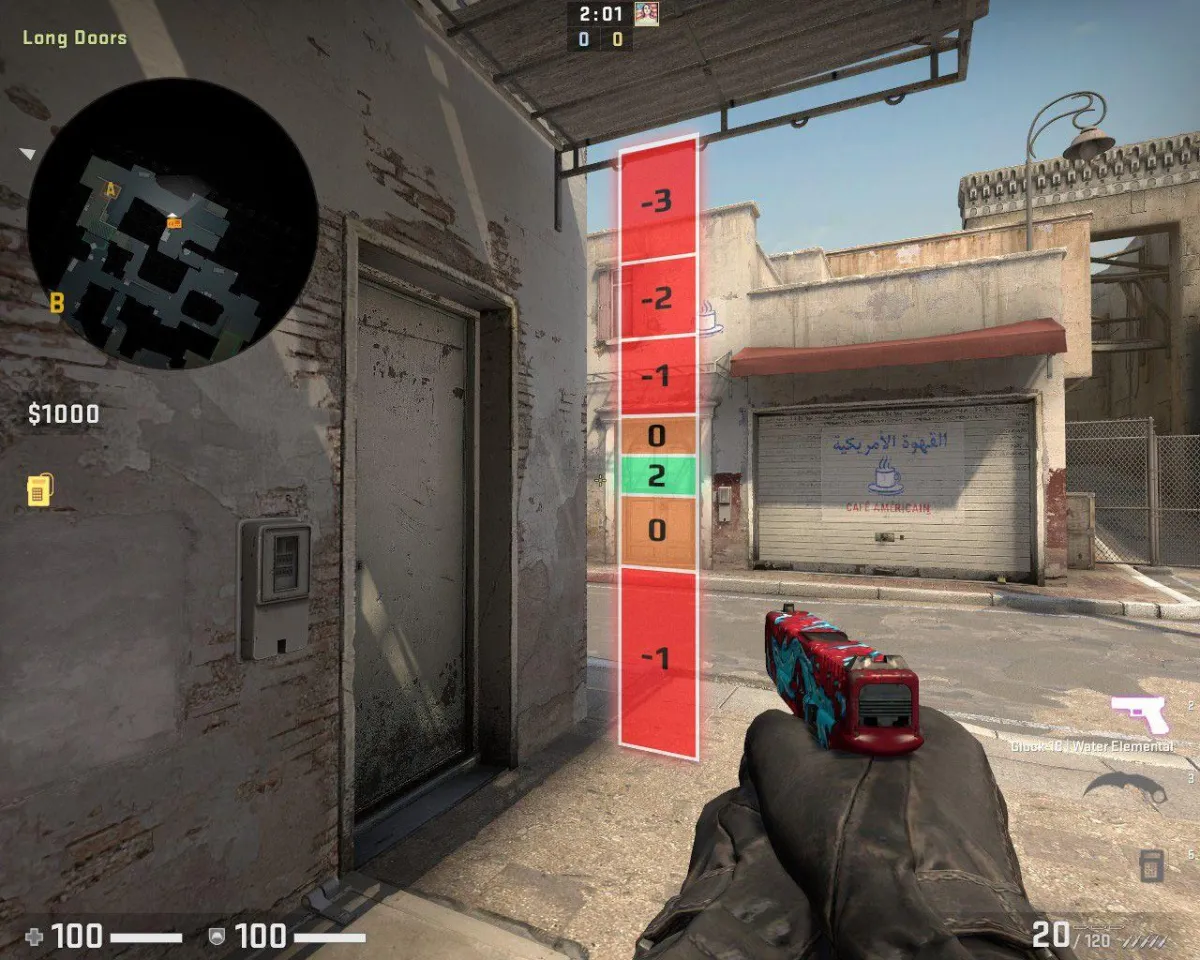
| Dust2 Long | Resting at chest height in the middle of Long Doors | Hold a head's width off either door edge at head height - at Long's distance that offset catches both a slow shoulder peek and a fast swing |
| Ancient Mid | Keeping one flat height across mid's elevation changes | Reset the crosshair to each zone's head height as you advance |
How far off the edge you hold should scale with distance and expected peek speed - tighter for slow peeks at long range, wider for close-range swings. The pattern is the same everywhere: people anchor the crosshair to walls and boxes when it should be anchored to where a head will appear. Geometry is a reference, not a target.
Fix the Habit, Keep the Aim
Crosshair placement is the least flashy skill in CS2. It produces no clips - just first bullets that keep landing and duels that suddenly feel slower than they used to. Watch any pro match closely and most of the "insane aim" turns out to be a crosshair that was already in the right place.
Run the ten-minute drill for a week and track your three mistakes after every duel. When you're ready to expand the routine, move on to the guide to the best maps for aim and reaction training in CS2.